SAP-24 Account Payable create vendor account groups
create vendor account groups
Configuration values
Configuration Steps
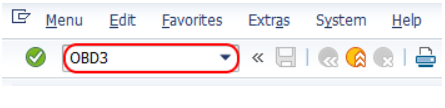
Step 1 : – Enter t-code “OBD3” in the SAP commend field and enter.
Step 2 : – On change view “vendor account groups” overview screen, click on new entries button for creation of new vendor account group in SAP as per requirements.

Step 3 : – On new entries: details of added entries screen, update the following details.
Account group : – Update the four digit key that identifies the vendor account group in SAP.
Description/Meaning : – Update the descriptive text of account group.
One-Time account : – Leave this option as blank, if you are creating one time vendor account group than check this one time account option.
Field Status : – Double click on company code data for maintaining the field status groups.

Step 4 : – On maintain field status group: overview screen, click on account management option which is under select group field.

On maintain field status group : account management screen, choose the reconciliation account as required entry.

Click on save button and save the configured details.
Why we need to choose reconciliation account as required entry?
It is mandatory to choose reconciliation account as required entry, because when we are creating vendor accounts in SAP it ask to entry the reconciliation account and the system wont allows you to save the data without updating the reconciliation account.
Create Number Ranges for Vendor Accounts
After the creation of vendor account groups, the next is maintaining number range intervals for vendor accounts in SAP. The Vendor account number range intervals can be maintained with an internal assignment or external assignment.
Internal assignment enables the system to generate the vendor account automatically during the creation of vendor accounts in SAP
External assignment enables the user to assign the vendor account number during the creation of accounts.
You can Create Number Ranges for Vendor Accounts by using the following navigation method:
IMG Menu Path:- IMG > Financial accounting –> Accounts Receivable and Accounts Payable –> Vendor Accounts –> Master data –> Preparation for creating vendor master data –> Create number ranges for a vendor account
Transaction Code:- XKN1
Step 1:- Enter TCode SPRO in the command field and press enter
Step 2:– Select SAP Reference IMG
Step 3:– Follow the IMG Menu path to Create Number Ranges for Vendor Account
Step 4:- Select Change interval for creating number ranges for Vendor accounts
Step 5:- Select “Insert Interval”
Step 6:- Update the following information and Enter
1. NO:- Enter NO that you want to identify the vendor accounts number range
2. From Number:- Enter from number of vendor number range
3. To number:- Enter to number of vendor number range
4 .Ext:- Select EXT box if you want External numbering

Step 7:- Select Save and ignore the warning message.
Assign Number Ranges to Vendor Account
After defining vendor account groups and number range intervals for vendor accounts in SAP, the next configuration step is the assignment of number ranges to vendor account groups in the SAP system.
It is a mandatory configuration step when you are creating the customer accounts as per account groups, and the system generates a number for vendor account as per this number range intervals.
You Assign Number Ranges to Vendor Account Groups in SAP by using the following navigation method.
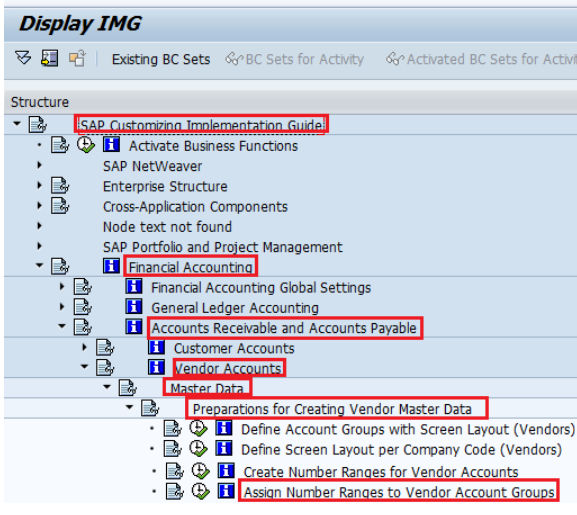
IMG Menu path :- Implementation Guide for R/3 Customizing (IMG) -> Financial Accounting -> Accounts Receivable and Accounts Payable -> Vendor Accounts -> Master Data -> Assign Number Ranges to Vendor Account Groups
Transaction Code:– OBAS
Step 1:- Enter transaction Code SPRO in the SAP command field and press enter.
Step 2:- Select SAP Reference IMG
Step 3:– Follow the IMG menu path
Step 4:– Select Position
Now update the vendor account group that you want to assign number ranges and press enter.
Step 5:– Update Number range key in the number range field
